
Managing Your Device’s Security Policies with Kepler Safe – A Comprehensive Guide

Every IT professional knows the importance of managing the security protocol of every device. However, the sheer number of devices and users makes it overwhelming to implement a consistent security protocol in an organization. But Kepler Safe’s all-new device grouping technology using labels makes this whole process much more manageable.
Kepler Safe introduced labels in version 19.2 which was a significant step in maintaining the device’s security protocols. Further on May 14th, Kepler Safe proudly launched its new version 2.0 which further enhances the effectiveness of the device labels feature. This update allows administrators to apply the right policies to specific sets of devices, ensuring precise and targeted security measures.
Let’s walk through the simple and intuitive process of creating labels and explore various ways to leverage this feature effectively:
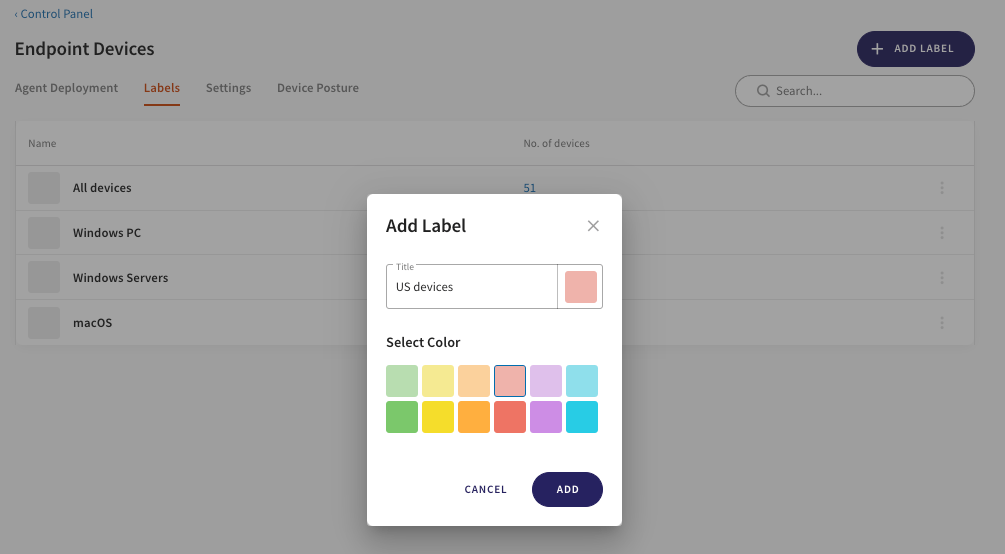
Custom Labels
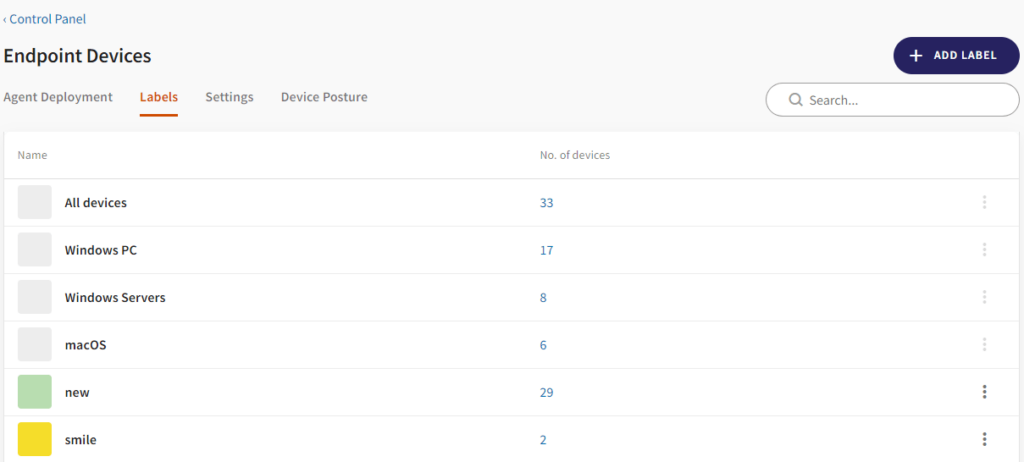
If you want to add custom labels, go to the control panel. Click on the Labels tab in the device’s area.

Pre-Defined Labels
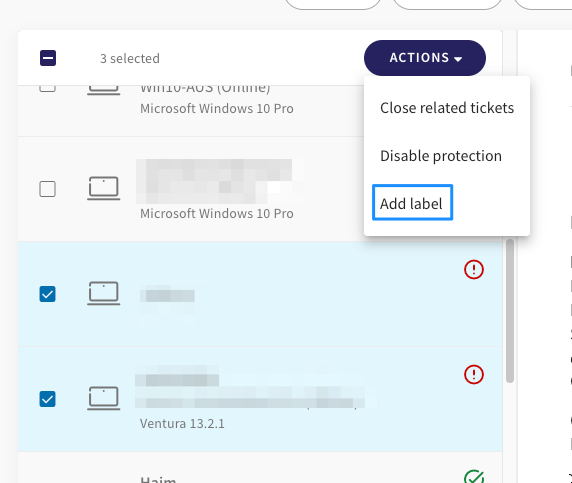
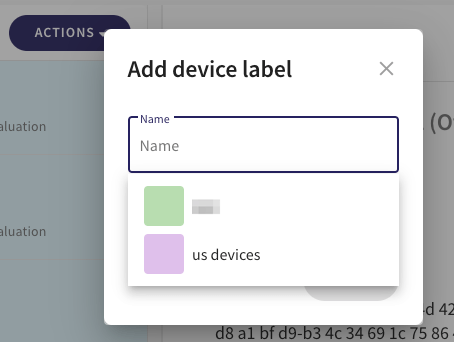
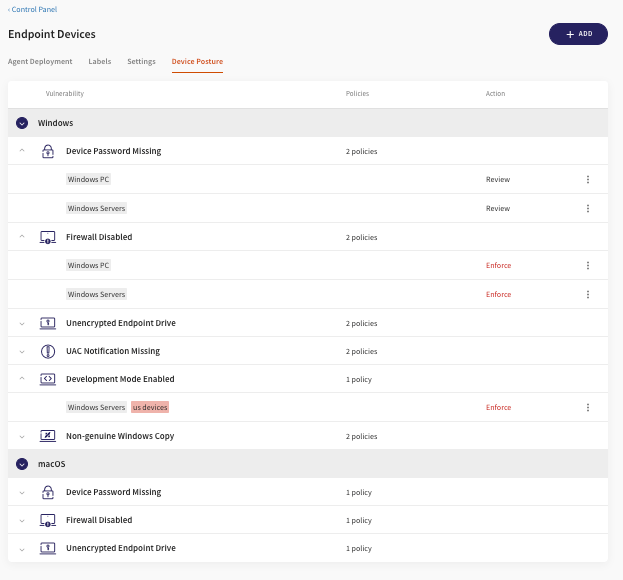
Apply Policies by Label
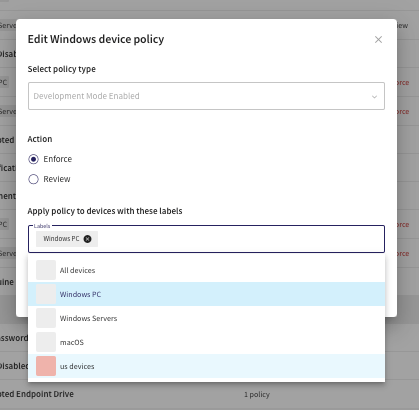
Once you’re done applying labels to the specific set of devices, you can apply the posture policies to the particular group. This way, admins get greater control over how the policies are applied to the devices.
For instance, enabling Development mode on a device could potentially increase its exposure to risks, but it may be necessary for developers to perform their tasks effectively. Consequently, while administrators may wish to enforce device passwords across all devices, they might need to restrict the “Development Mode Enabled” feature to non-developer devices only.
Still, confused about the labels feature? No need to worry! Our release notes for Kepler Safe’s latest version 2.0 have got you covered. If you still have any questions or need assistance, feel free to reach out to our dedicated team – we’re here to help!